参考链接 : http://nginx.org/en/docs/http/ngx_http_headers_module.html
假设我们要禁用 .xls 和 .xlsx 后缀的浏览器缓存:
只需要设置 expires -1; 即可
1 | location ~ .*\.(xls|xlsx)$ |
参考链接 : http://nginx.org/en/docs/http/ngx_http_headers_module.html
假设我们要禁用 .xls 和 .xlsx 后缀的浏览器缓存:
只需要设置 expires -1; 即可
1 | location ~ .*\.(xls|xlsx)$ |
在以往的 PHP 版本中,我们使用匿名函数的方式可能会显得非常冗长,即使里面只是一个简单的返回,或者一个简单的表达式。
比如:
1 | $students = [ |
写过 ES6 或者 Java8 的朋友应该对箭头函数这种写法比较熟悉,对比一下:
1 | let names = students.map(student => student.name) |
1 | students.stream() |
相对比之下,php 就显得有些啰嗦,如果闭包函数里面需要使用外部变量,则还需要把每一个外部变量写到 use 里面,那就会更加冗长。
现在我们使用箭头函数来重写一下上面的 array_map
调用:
1 | $names = array_map(fn ($student) => $student['name'], $students); |
在线运行以上代码: php74-playground
怎么样?是不是简洁又清晰,看起来特别舒服。
function、return、use
这些全都不用写了。
同时,如果需要使用外部的变量,再也不需要使用 use 来引入那些外部变量了,在箭头函数后面的表达式直接可以使用:
1 | $y = 10; |
在线运行以上代码: php74-playground
旧的写法:
1 | $y = 10; |
1 | fn (parameter_list) => expr |
简单说一下(但是很重要):
fn 是箭头函数标识,原来的 function
关键字在箭头函数里只需写 fn(parameter_list) 是箭头函数的参数列表,fn
和 括号不能省略expr
这个名字已经说明了一切,这里我们只能写一个表达式,不能写多个语句,不接受语句块。expr 是一个表达式,同时也是这个箭头函数的返回值,原来的
return 不用写了有人会说,为什么还要写 fn,直接
parameter => expr 不就好了吗?
这是因为这种写法已经用于 PHP 的关联数组里面了,冲突了。
想了解为什么的可以看 rfc/arrow_functions_v2。
fn (array $x) => $x;,参数类型限定fn (): int => $x;,返回值类型限定fn ($x = 42) => $x;,参数默认值fn (&$x) => $x;,参数引用传递fn &($x) => $x;,返回值引用fn ($x, ...$rest) => $rest;总的来说:
参数传递、参数类型限定、返回值类型限定、引用参数传递、返回值引用等写法和旧的写法一致。
不一样的是:
没有了
function、return、use
等关键字,也没有了大括号
需要注意的是:不支持大括号,不像 ES6
fn (array $x) => {return $x;};基本语法 fn (parameter_list) => expr
PHP7.4 的箭头函数只支持简单的表达式(只能写一个表达式),不能使用大括号把表达式括起来
想尝鲜的可以在 php74-playground
尝试一下!基于 PHP 7.4.0RC1 版本。
基于 ubuntu 14.04
1 | apt-get update |
schroot 允许用户在一个 chroot
环境中允许命令
1 | apt-get install debootstrap |
debootstrap 是 Debian
系列系统下安装系统到子目录的一个工具。我们的 root jail
需要这个工具把系统的一些基本的东西安装都 root jail 目录下。
1 | mkdir /var/jail |
trusty 是 ubuntu 版本代号,对应是 ubuntu 14.04
1 | [trusty] |
1 | debootstrap trusty /var/jail/ http://mirrors.163.com/ubuntu/ |
最后的 http://mirrors.163.com/ubuntu/ 是镜像地址
1 | chroot /var/jail |
从 root jail 退出
1 | exit |
1 | mount -o bind /proc /var/jail/proc |
这个操作可以让我们在 root jail 中运行 ps 等命令
基本格式
1 | tell application <application name> to <verb> <do something> |
可用动词
get 用来访问窗口属性
set 用来设置窗口属性
open 打开窗口
close 关闭窗口
select 把选中窗口置顶
1 | tell application "Finder" to get the name of the front Finder window |
1 | tell application "Finder" to close the front window |
1 | tell application "Finder" to open home |
1 | tell application "Finder" to open the startup disk |
当打开了多个 Finder 窗口的时候,可以通过索引来获取对应的 Finder 窗口
1 | tell application "Finder" to get index of home |
这里假设是 1,下面的命令将会获取用户主目录窗口的标题
1 | tell application "Finder" to get the name of window 1 |
1 | tell application "Finder" to get the index of the first window -- 1 |
或
1 | tell application "Finder" to get the index of the 1st window |
1 | tell application "Finder" to get the index of the second window -- 2 |
或
1 | tell application "Finder" to get the index of the 2nd window |
1 | tell application "Finder" to get the front window |
1 | tell application "Finder" to set the index of the last window to 1 -- 最底层窗口置顶 |
1 | by name: |
这里是 ~/Code
1 | tell application "Finder" to set the target of the front Finder window to folder "Code" of home |
1 | tell application "Finder" to set the target of the front Finder window to the startup disk |
多级目录
1 | tell application "Finder" to set the target of the front Finder window to folder "Smith Project" of folder "Documents" of home |
1 | tell application "Finder" to set toolbar visible of the front window to false -- 隐藏 |
1 | tell application "Finder" to set toolbar visible of the front window to true -- 显示 |
1 | tell application "Finder" to set statusbar visible of Finder window 1 to true -- 显示 |
1 | tell application "Finder" to set the sidebar width of Finder window 1 to 200 -- 设置顶层窗口 |
1 | tell application "Finder" to get the current view of the front Finder window -- 获取当前 view 属性 (list view, column view, flow view, icon view) |
1 | tell application "Finder" to get the position of the front window |
1 | tell application "Finder" to set the position of the front window to {0, 300} |
1 | tell application "Finder" to get the bounds of the front window |
各数字意义:
72: 距离屏幕左边边缘的距离
90: 距离屏幕顶部边缘的距离
512: 距离屏幕右边边缘的距离
481: 距离屏幕底部边缘的距离
1 | tell application "Finder" to select the last Finder window -- 置顶最底部窗口 |
1 | tell application "Finder" to set the index of the last Finder window to 1 |
不用每一个语句都写 tell application "xxx"
1 | tell application "Finder" |
在对某一个窗口对象操作的时候,可以独立写一个 tell 语句块
1 | tell application "Finder" |
1 | tell application "Wechat" |
1 | tell application "Wechat" |
1 | tell application "Wechat" |
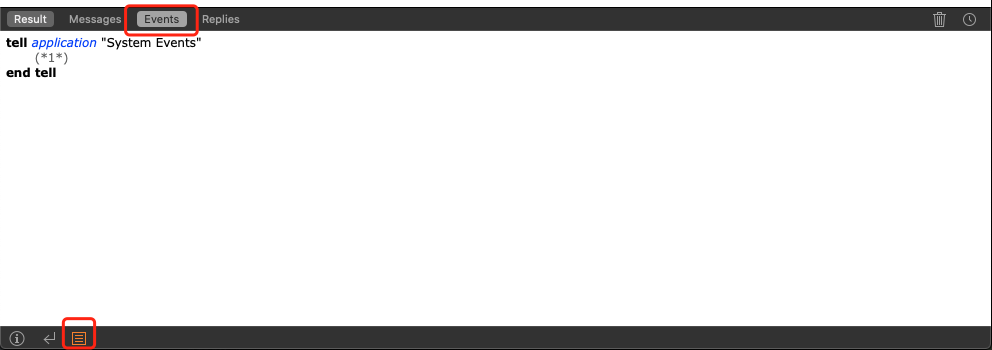
1 | log "a" -- 可以在 script editor 底部的 events 查看 |
every group --> Returns a list of groups.
every UI element of every group --> Returns a list of
lists (corresponding to groups) of UI elements.
every button of every UI element of every group -->
Returns a list of lists (corresponding to groups) of lists
(corresponding to UI elements) of button references.
1 | tell application "Safari" |
1 | tell application "System Events" |
1 | tell application "Capture One 20" |
这里假设要安装 gitlab-ce 10.3.3
先在 https://packages.gitlab.com/gitlab/gitlab-ce 找到对应版本的 gitlab-ce
gitlab-ce-10.3.3-ce.0.el7.x86_64.rpm
1 | curl -s https://packages.gitlab.com/install/repositories/gitlab/gitlab-ce/script.rpm.sh | sudo bash |
1 | sudo yum install gitlab-ce-10.3.3-ce.0.el7.x86_64 |
1 | gitlab-ctl start |
修改 /etc/gitlab/gitlab.rb,如
1 | external_url 'http://gitlab.local:8888' |
修改配置之后,需要运行:
1 | gitlab-ctl reconfigure |
打开 http://gitlab.local:8888/help